Managing Navigation
Use menus control to determine how pages are organized on your website. To access it - click Site settings on the side menu and then click Menus. You will see a list of all created menus.

- Menus entry is located at the bottom of Site Settings menu bar.
- Click
Add Newbutton to create a new menu. - Edit menu button.
- Menu history button to see and revert changes to the menu.
- Delete button.
Enter menu edit dialog by clicking edit button. A modal window will open. The first tab contains basic properties of the menu.
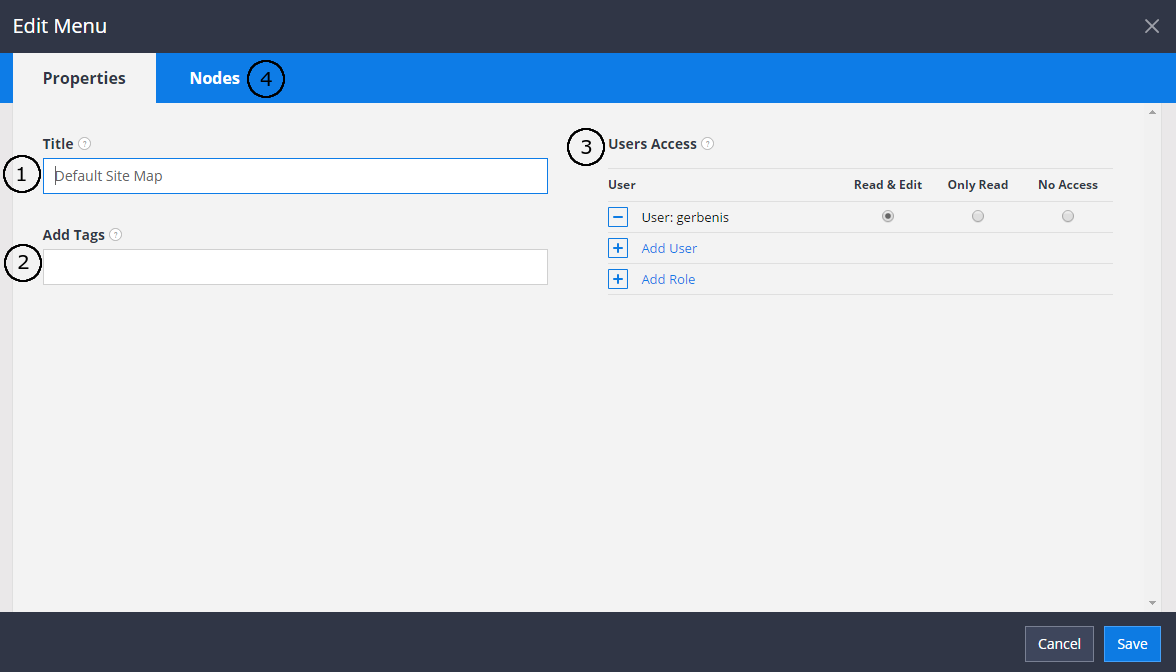
- Specify a title of the menu.
- Add tags to the menu.
- Specify access rules to this menu, if access control is enabled in your site.
- To edit structure of the menu, go to
Nodestab.
Menu structure is edit in Nodes tab. Here you can add or nest pages within the menu, rename them, change thei urls. A list of every page on your website will appear on the left. Click and drag a page in between nodes to add a page at the base level, or click and drag a page onto a node to nest it as a sublevel of that page.
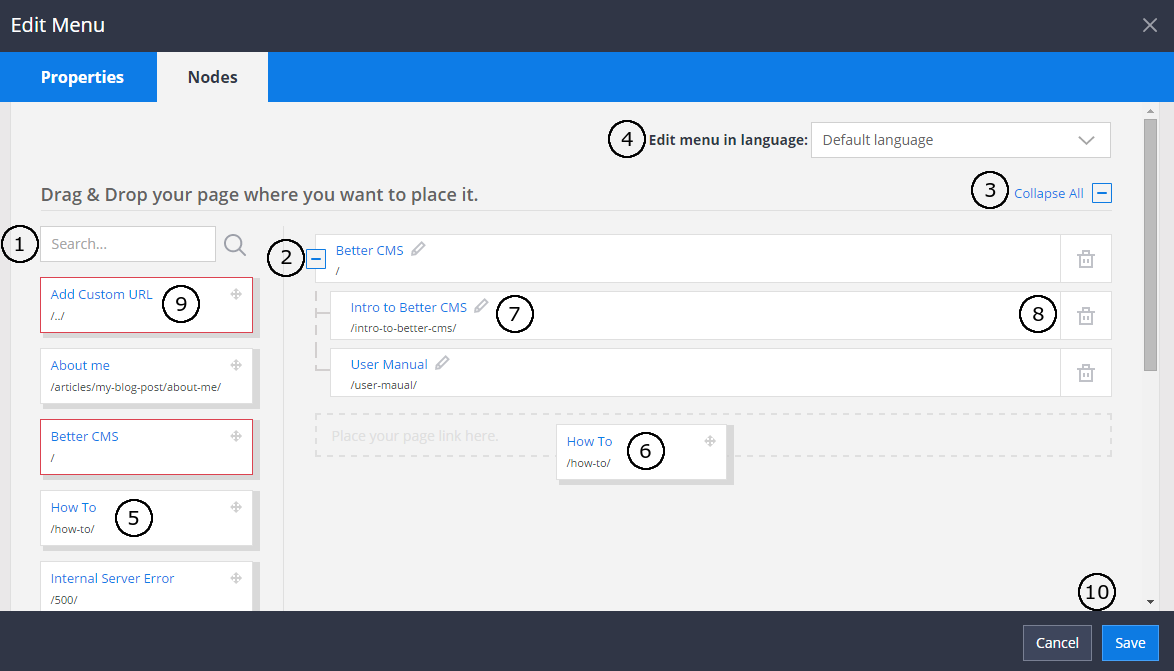
- Search for specific page to place it on the menu.
- Button to expand or collapse nested nodes.
- Button to collapse or expand all menu nodes.
- If you have multiple languages in your page, you edit your menu in a specific language. You can rename menu nodes and change their urls for each language. However, the menu structure cannot be changed and is the same for all languages.
- Click on the page entry to drag it to the map.
- Drag over specific place you want to place the node.
- Edit node button.
- Delete node button.
- First entity is for custom links to be placed on the menu (ex. for external web pages).
- Buttons to save or cancel all the changes you have made to the menu.